Wednesday, January 31, 2007

Some more Valentines


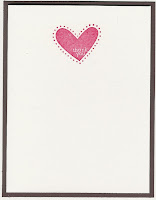
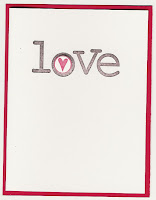
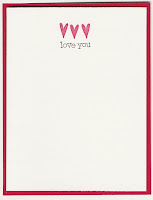
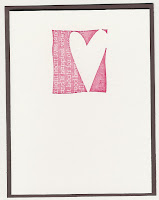
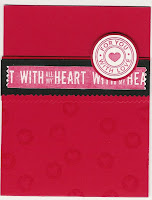
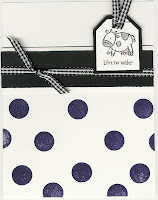
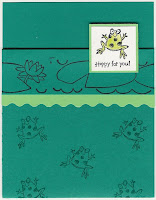
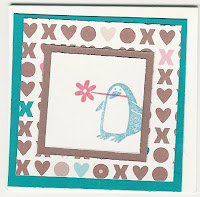
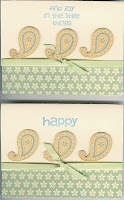
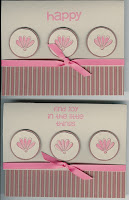
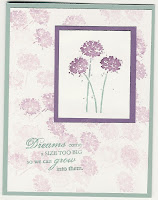
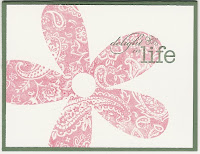
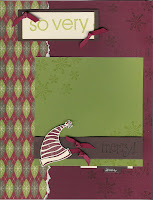
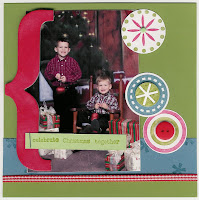
Here are some more classy, simple cards from the FREE A Light Heart stamp set class. Enjoy.

Tuesday, January 30, 2007

February Card Sketch challenge samples


STANDARD CARD SIZE SKETCH: This sketch works great with small images like small flowers, Big Pieces, Very Punny, A Little Love, Delight in Life, Love Matters, Riveting, Seeing Spots, Circle of Friendship, etc..
The card sketch is for a reverse pocket card closure. It may sound confusing but it is soooo simple. You make a normal pocket card by cutting your paper 4 ¼ x 11. Score this at 5 ½ and 10 ¾ . Fold on score lines to make a pocket card with a folded over flap. This is where you get to be creative and embellish your card with ribbons, stamped images, etc. Now to make the reverse closure. You just stamp an image that will fit in one of our 1 ¼ inch punches or the small tag punch. Then punch this out. Make a mat for this image using the larger coordinating punch. Now you will take a stampin' dimensional and stick this to the back of the top half of the punched out image. Stick it to the back part of the pocket card so that it forms a closure to keep the card folded over and closed. See, so easy, and very clever.

January stamp class


These cards and projects are from my January stamp class. I thought they were fun and cute. They use Very Punny, Big Pieces, Love Matters, and the new Winter mini papers, ribbons and notecards. These were all pretty simple to make too. It was a good last class for awhile.

John's valentines


Here are the Valentine's I quickly made for John's preschool and Sunday school friends. The pink ones are for the girls and the white ones are for the boys.

I think for something quick they turned out okay. Trying to use up some old supplies too.

Nathan's Valentine


Here is a picture of the Valentine's my oldes son, Nathan just made this afternoon. I am working on Valentine's for my youngest son's preschool class. Nathan loves to do crafts too, so we worked on these together for him to give to his Sunday School friends. I'll post the Valentine's for John's classmates and the teacher gifts for both Preschool and Sunday school as soon as I complete them.
Anyway, I am so proud of Nathan. He is a very creative and artistic little guy. The only think I helped with on these was cutting the papers for him. He did the rest. Hope ya'll like seeing his work.

Saturday, January 27, 2007

Sneak Peak at Polka Dots and Paisley


Here is a sneak peak at a new stamp set from Stampin' UP! that will be in the new Spring Mini catalog. I got it for free as a demonstrator for Stampin' UP! It was our Christmas present from Shelli, the C0-Founder and President of the company. Anyway, found this card sketch and thought it would work well with this set. I think I kind of like the pink cards better than the blue. Need to work on my paisley placement. Anyway, here they are. The Sarah and Rebecca Designer papers are a perfect match for this set.
colors used: regal rose, close to cocoa, sahara sand, ballet blue, certainly celery, and so saffron. I used Craft inks for all the stamping.

Friday, January 26, 2007

Sketch and color challenge


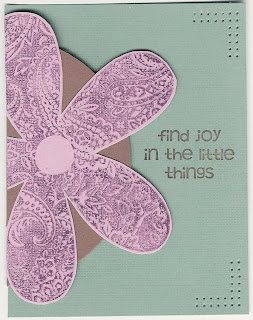
I finally tried a Splitcoast color challenge and sketch challenge. They give you the card layout sketch, and then there is a seperate challenge for the color combination. I combined the two in this card. It was a fun new spin on a card. I hope you all like it. I used Perfect Plum, Pale Plum. Sage Shadow and Close to Cocoa for my colors. The stamp is Big Blossom, and the greeting is a sneak peak at a new set in the upcoming Stampin' UP! Spring Mini catalog.

Delightful new pocket card


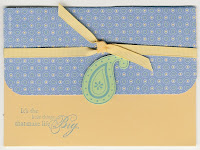
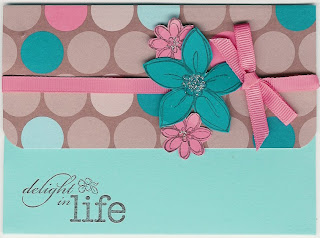
I just found the instructions to make this darling little pocket card/gift card holder. You take a 5 1/2 by 8 1/2 piece of cardstock (this is a 1/2 sheet) and score at 6 and 2 inches. Embellish with stamping, cut out images, designer papers, ribbons, etc. You glue the 2 inch flap on the edges to make a pocket. You can slip in a gift card or a coordinating piece of cardstock with a message. So easy. This one uses Delight in Life stamp set. The second pocket card uses the Polka Dot and Paisley set that will be in the new Spring mini catalog. Stay tuned for more info. about that.

Try this today, it's fun and easy!

Delight in time to play again


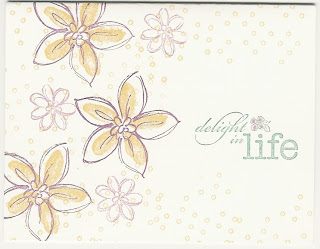
Yea! I have some time to play again with my new stamps. I finally finished organizing and calculating all of my tax documents for filing my business taxes. What a pain! I am sure it would be easier if I kept better records ALL year instead of starting out the year doing this pretty well, and then slacking by the middle of the year. Oh well. When you have so many other things in your life to juggle, sometimes things get this way. Here is my first simple new card inspired by some of the talented ladies on Splitcoast. It is a simple no layer card using the colors Perfect Plum, So Saffron, and Sage Shadow. Got the color combo off of the color wheel. It looks prettier in real life, but scanned okay.
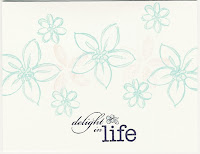
The second card is in cool caribbean, black and a bit of pretty in pink for some sublte color. I also watercolored the centers and edges of the flowers for some extra color.

Sunday, January 21, 2007

Happy Harmony Double take


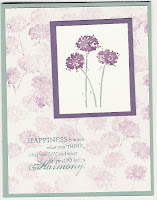
I made these two cards and had a hard time figuring out what kind of "ink" to use since I don't have Perfect Plum or Pale Plum in a marker. It's hard to ink up two colors with full size ink pads, but thankfully it worked, because the watercolor crayons were not looking good on this set. I guess I need to get those watercolor crayons out more and play with them. They have been on the shelf for about a year now. I like them, just don't always have the technique down for using them. Anyway, here are two different greetings on the same card.

Big Blossom Delight


I made this card tonight after taking care of Stampin' UP! business. After totalling orders and making out deposit slips and unpacking things from my workshop, I find a couple of hours has gone by. I had to stamp something though. Here is my first card. I liked the color combination of Regal Rose and Always Artichoke. I used the kissing technique on the flower. I stamped the Paisley background first and then kissed the Big Blossom to it to stamp. Works better this way I just found out as this is my first attempt at this technique. Easy and elegant. I always make two cards when I stamp and my husband said this one looked better as the "Delight" sort of fit in the flower petal and flowed along with the curve of the petal. He's good at noticing little things like that.

Okay, what is the kissing technique you ask? Well it involves taking a solid image stamp and "kissing" it onto a background stamp or other patterned stamp to ink it up. I prefer the inking of the large background and then kissing the solid stamp on that to get the pattern on the solid stamp. Less chance of smearing. You can also leave the background stamp uninked and take solid stamps that are inked, kiss them to the background stamp and then stamp the background stamp onto your paper. Leaves a totally different look. Play around with the technique. Basically you are taking an uninked solid stamp and transferring an inked pattern to that, or doing just the opposite of taking an uninked patterned stamp and inking it with a solid colored stamp image.
I'll post more samples later to show you the difference.

Saturday, January 20, 2007

Yet another page.. and then I will finally go to bed


Here is another page made for tomorrow. Gotta get this posted and then off to bed so I don't fall asleep at my workshop or say something totally stupid, or forget something. Although those last two things sometimes happen with sleep. Oh well, gotta laugh at yourself sometimes, and it's good for me since I take myself way tooo seriously. Hope you like this progressive page. First I created the 6x6 page (okay so it is from an inspiration sheet), and then made it the focal point for a 8 1/2 by 11 page.
This page's title is created by using the wonderful So Very set.

Big Pieces of my heart


Here are my two precious boys last Christmas. Created this page again for my workshop tomorow. I totally CASE'd the layout from the front of our Stampin' UP! demo magazine, but I customized it with my own picture. That does count for some originality, right?! Anyway, I thought it turned out cute. Great for showcasing this great set Big Pieces and those awesome chipboard elements from On Board simon lower. Gotta love that stuff.

A little more scrapbooking


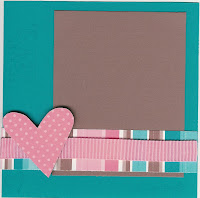
I created this page for a make and take for my workshop tomorrow. The hostess wanted a scrapbooking workshop and I am sooo not good at scrapping. It takes me way tooo long to come up with a layout, even after searching and looking for any ideas I can find from others for way tooo long too. I can't think of good titles for my pages either. Anyway, this is a small 6x6 page showing off Stampin' UP!'s great valentines designer series papers, Flirty ribbons, chipboard heart, and yummy Valentine's colors. I thought it was bright and fun. Oh and it also has stamping from Love Matters.

My First Post!!

Hello! My wonderful husband just walked me through setting up this blog and I am so excited. He is a computer guru and runs the computer infrastructure at a local University. I have two amazing and precious boys who are 5 1/2 and 3 years old. I am homeschooling my oldest this year and that has been a delight and a challenge. It can be hard to stay on schedule sometimes.
I started this blog to share my stamping creations and other items with others. I am a member of Splitcoaststampers and a lot of super talented ladies on there have blogs, and I thought they seemed like a good idea for sharing ideas. I am a demonstrator for Stampin' UP! and have been doing this for 5 years this March. I have built a pretty good business for what I can put into it, but with the new changes in our family with homeschooling and two very active boys, I have had to step back in this new year and cut back on the time I can spend on the business side of this. It has been a hard choice to make in the sense that I love sharing Stampin' UP! products and all the amazing things you can do with them, and I would do classes, workshops and stamp camps all the time. But all that takes tooo much thought time and prep time that I just really don't have. I found that last year, I wasn't giving anyone in my family my full attention as I was always thinking about projects for my next monthly class, or what new things I was going to make, or samples to make to sell the latest product, etc. I kind of got burnt out and stamping this past year has lost some of its joy.
I had my last stamping class last week, and my last workshop in awhile (unless someone books one off of this one) is tomorrow. Now I get to stamp what I want to and hopefully have some fun again playing with the plethora of supplies I have amassed in the past 5 years. Yea!! I am looking forward to that. Plus I just got my craft room completely remodeled this past two weeks as my birthday present from my mom and dad. I will take a picture and post it here. It is great and I feel like I can actually create now, as the clutter is gone. It might be the only organized room in the whole house. Great for escaping to.

Well that is all for this post. Be back in a little while with more.